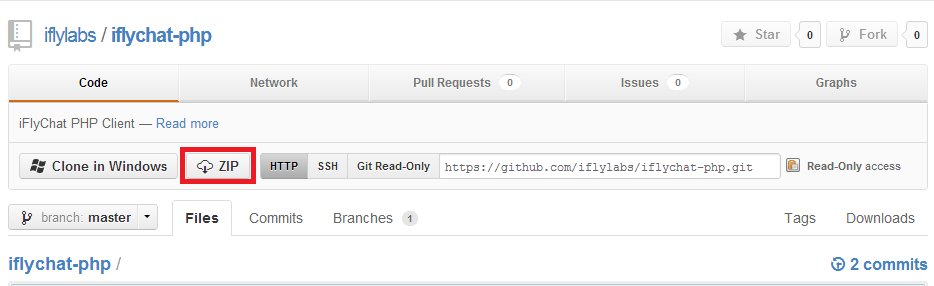
- Step 1 - Download iFlyChat PHP Client from https://github.com/iflylabs/iflychat-php/archive/v1.0.1.zip (direct download link) and extract it to a suitable folder say, iflychat-php.
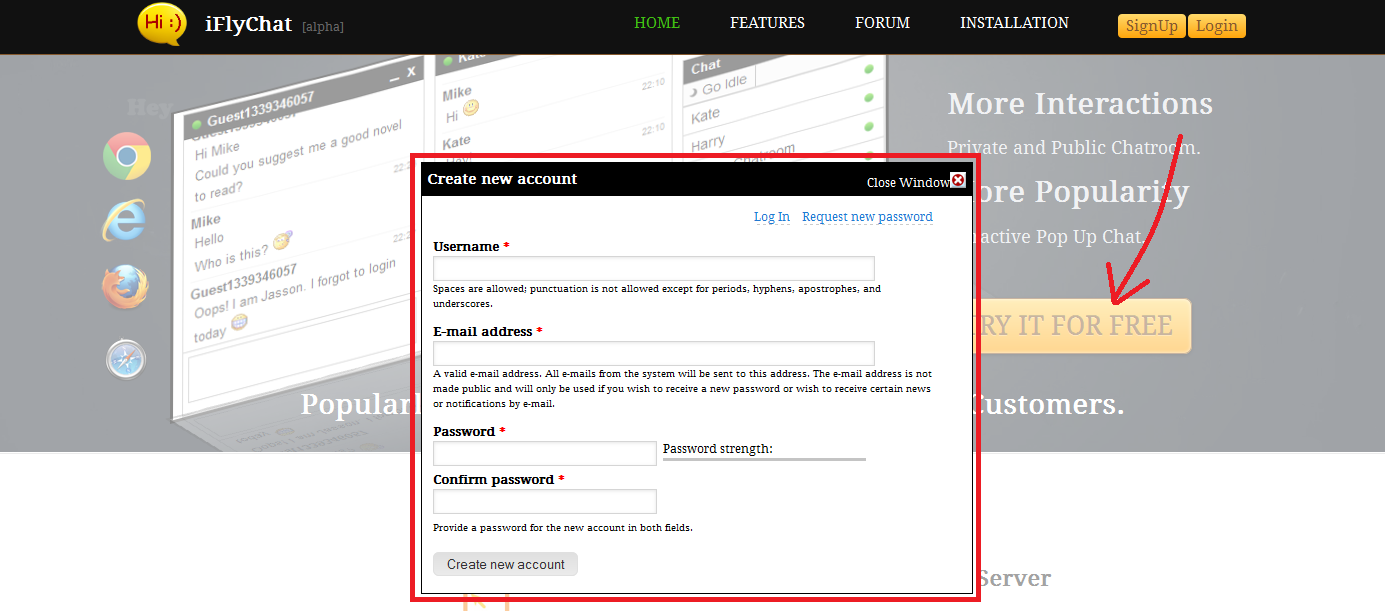
- Step 2 - Next, generate an API key in order to use our servers securely with your website. To do so go to https://iflychat.com and signup to create a new account.
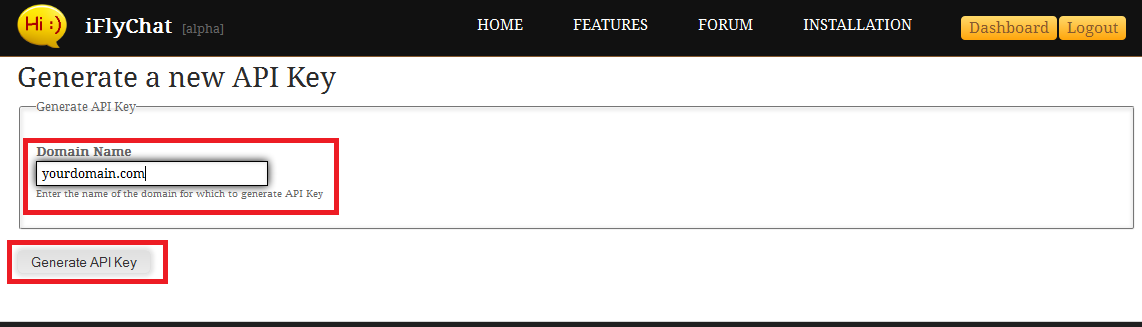
- Step 3 - Now, go to Dashboard and Generate a new API key for your domain name.


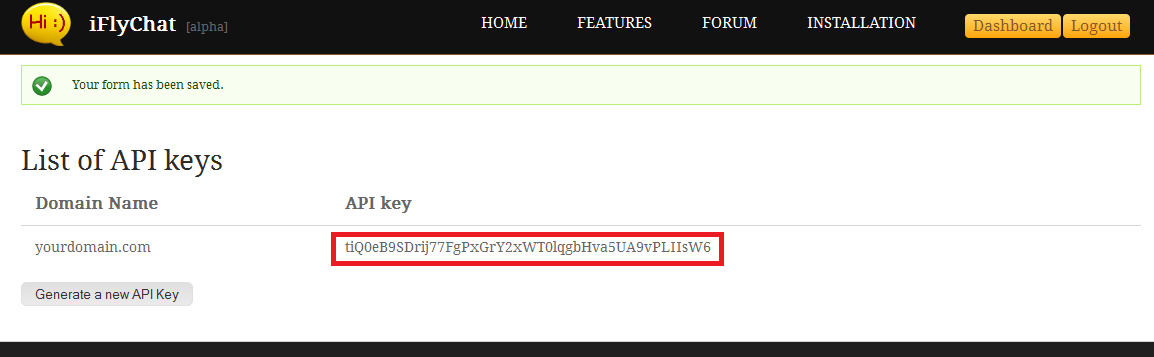
- Step 4 - Copy the newly generated API key.
- Step 5 - Next, go to iflychat_api_settings.php (inside iflychat-php folder) and paste your API key there. This will allow your website to use our servers for processing chat requests.
- Step 6 - Now, you need to include iflychat php client in your php code. To do so, use the following code:
require_once('./iflychat-php/iflychat_api.php');
-
Step 7 - After this you need to provide some details of the current user who will join the chat. To do so, use the following code:
$current_user_info = array('name' => 'admin', 'id' => '1', 'is_admin' => TRUE, 'avatar_url' => '/path/to/my_picture.jpg', 'upl' => 'link_to_profile_of_current_user.php');
$ifly_code = iflychat_render_chat($current_user_info);If the current user is not a registered user, then you do not need to pass any user details and can call iflychat_render_chat directly as shown below:
$ifly_code = iflychat_render_chat();
- Step 8 - Make sure to use the above code before printing any content via PHP, otherwise you will get an error. Finally, use the following code anywhere in your PHP file to render the chat:
print $ifly_code;
- Step 9 - After this, you need to save chat settings. To do so, run any PHP file which contains the above code with following GET parameter - iflychat_update=true&iflychat_save=yes. Example - http://www.example.com?iflychat_update=true&iflychat_save=yes. You need to do this only once after changing settings in iflychat_api_settings.php.